Mocha: Testing on the Command Line in 4 Easy Steps
Lately, I’ve become a testing fanatic. I write tests for almost everything that’s not DOM related (and sometimes even for that!).
Whenever I see my one of my classmates at Hack Reactor manually testing something in the console I start nagging them “Write a test for that!”, “Why are you testing that in the console!”, “Don’t be lazy! Write some tests”, “Be lazier! Write some tests!”. Most of them tell me they don’t really now how to do it, so I decided to write a short, basic tutorial on how to test JavaScript code from the command line. Now they’ll have to write tests!
1. Install Dependencies
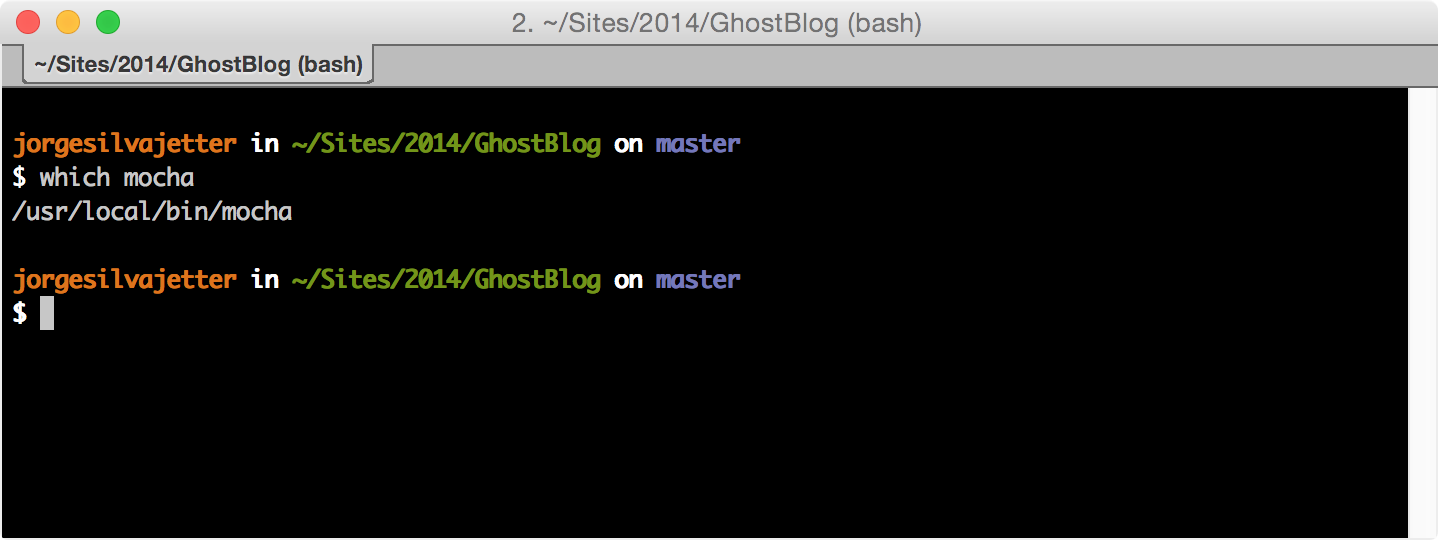
Using mocha directly from the command line makes testing that much easier. In order to do that, you need to install mocha globally using npm.
npm install -g mocha
Now, you have a CLI for mocha. YEY! You do know what which is, right?
After that, turn your project into an npm project, by typing npm init and completing the info prompts. Don’t worry too much about what you put in.
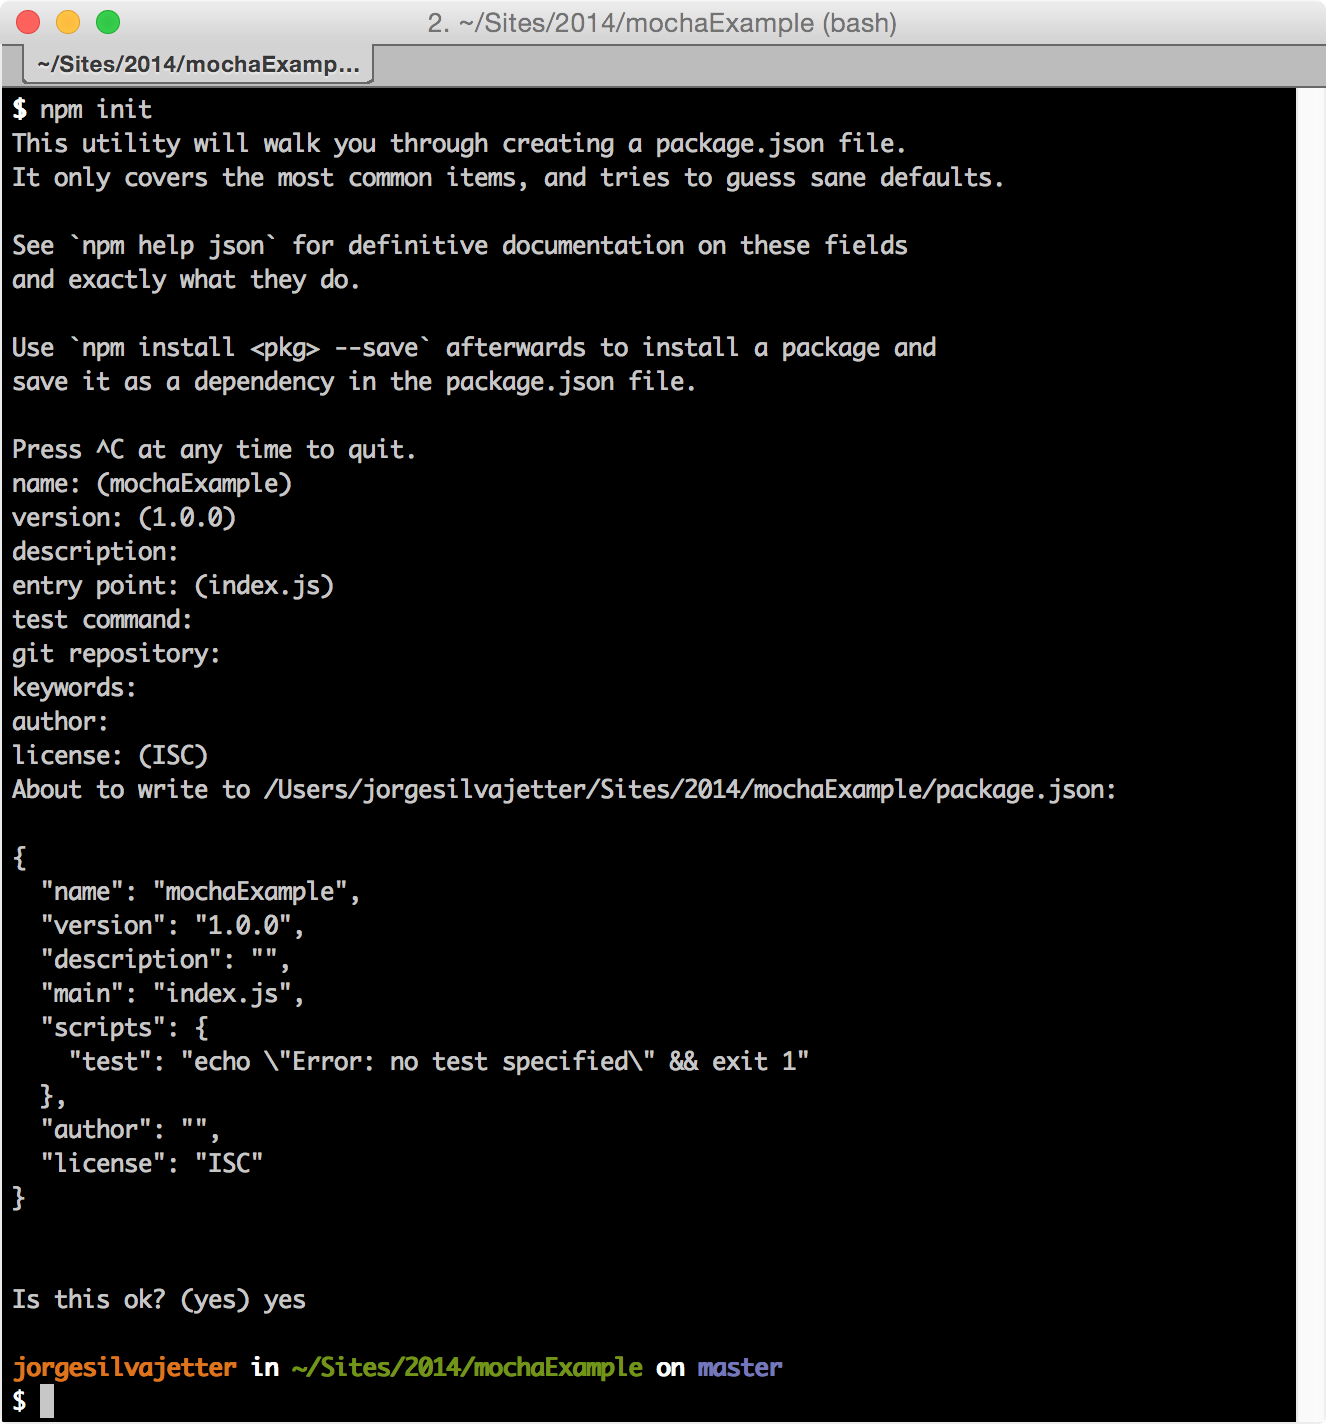
The reason this is important is because it will create a package.json file in your project directory, where we’ll save our dependencies.
Now you can install node modules in your project. For now, we’ll just install chai and –save it as a dependency in our package.json.
npm install chai --save
Now, our project will have a node_modules directory with all our dependencies in it.
2. Modularize Your Code
Export any function you want to test by modularizing your code. In our example sum function, we can just add module.exports = sum; or exports.sum = sum; at the end of our file. The first one will only export one function (sum), while the latter will export an object with .sum function. In this example, we’ll use exports.sum.
// sum.js
var sum = function (a, b) {
  // Don't write any code yet!
  // Wait until your tests are written
};
exports.sum = sum;
Note that this will only work in a node environment, and won’t work in the browser!
3. Write and Run Your Tests
Now that our function is declared and modularized it can be imported into another file with require. Write some tests and save them to sumSpec.js
// sumSpec.js
// Import our sum function from sum.js
var sum = require('./sum').sum; // as a sibling file
var expect = require('chai').expect;

describe('sum', function () {
  it('should return the sum of all numbers', function() {
    expect(sum(1, 2)).to.equal(3);
  });

  it('should return the sum of all numbers', function() {
    expect(sum(100, 2)).to.equal(102);
  });
});
Now that we’ve written some tests, run your tests and make sure that they fail. Yes, they should fail. That way, we know that it’s not a mistake when that they passed when we write a solution for it.
In order to run them, use the following command in your project directory:
mocha sumSpec.js
This should give you something like this.
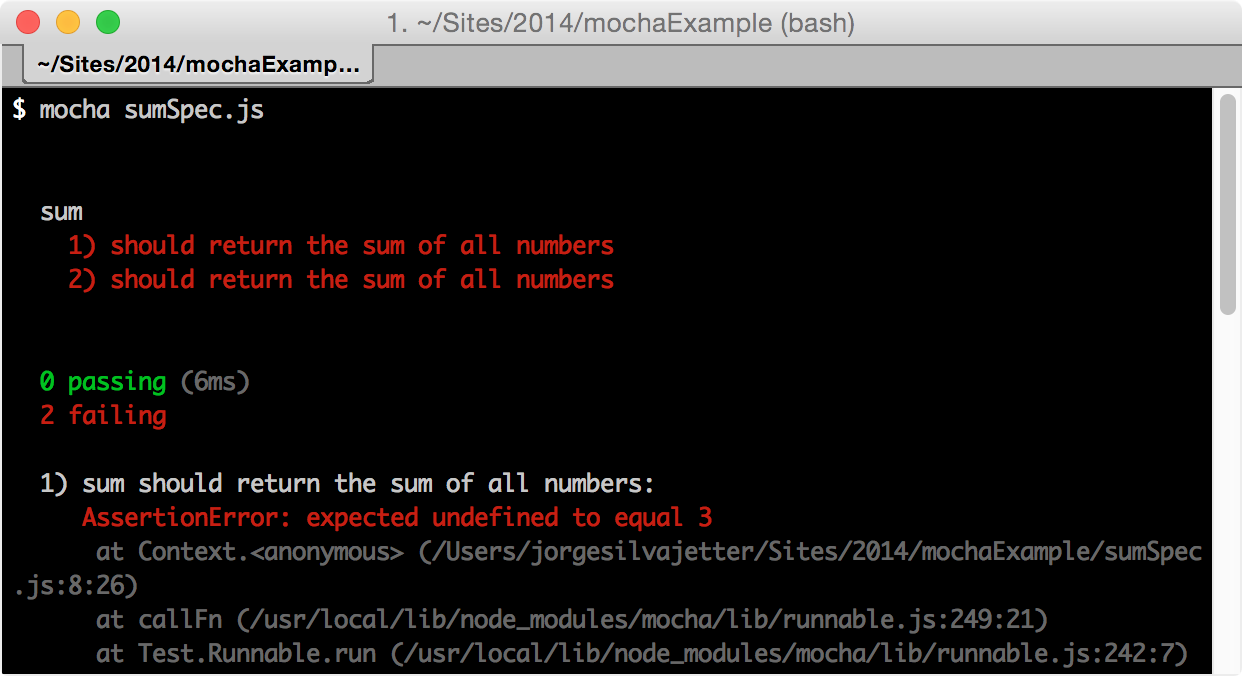
Our tests are failing! That’s awesome! Now, let’s fix it.
4. Make Your Tests Pass
Let’s re-write our intensely complicated sum function.
// sum.js
var sum = function (a, b) {
  return a + b; // Am I a genius or what
};
exports.sum = sum;
Now, let’s run the testing suite again and see if our tests pass.
mocha sumSpec.js
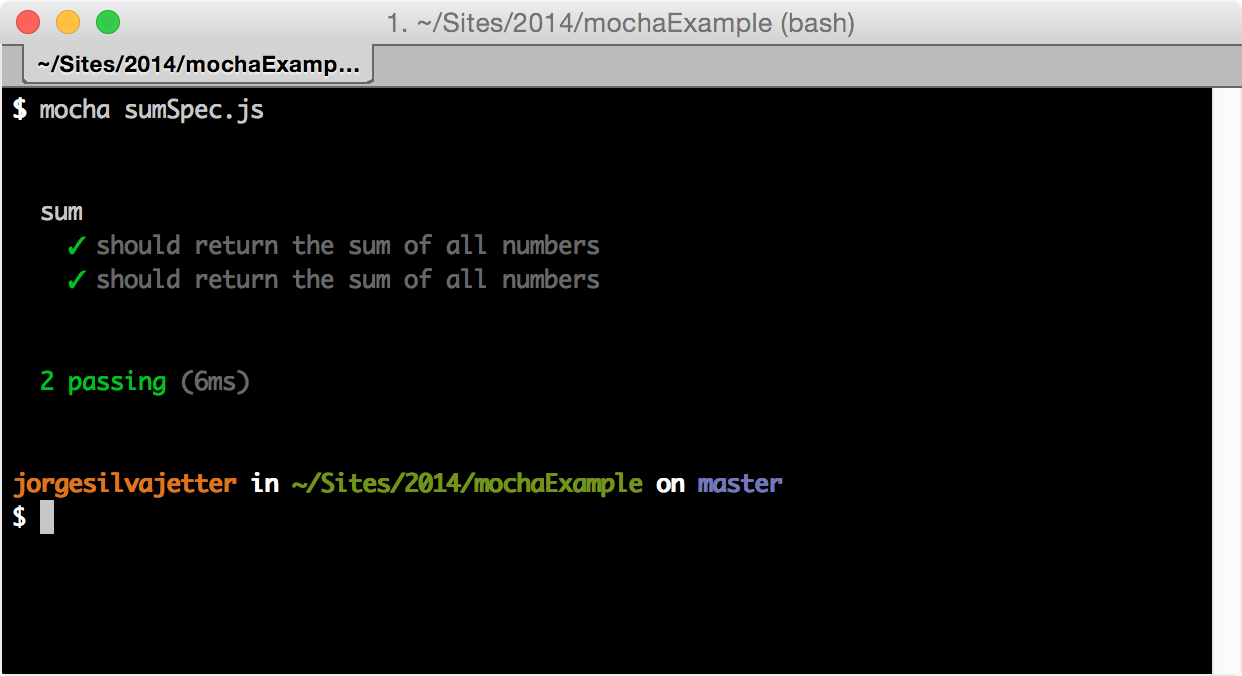
And there it is. You’re done. Congratulate yourself on a job well done. Want to refactor your code? Go crazy. If you have a good testing suite, you’ll be fine.