Setting Up My MacBook For Development
I got a new MacBook Pro today (Retina is beautiful!) and wanted to write down all the stuff I did to set it up correctly. I sort of enjoy going through all this, because it feels like I’m starting from scratch, but I often forget all the stuff I used to have in my computer.
So here it goes!
1. Install GUI Software
There are a couple of programs that are essential to my workflow. These are:
- Sublime Text 3 For Text Editing
- ITerm2 for my terminal
- 1Password for my passwords
- Dropbox to keep track of my password (not the pro version!)
I’m trying to get away with not installing XCode. Let’s see how that goes.
After sublime text is installed, link the Sublime Text CLI to the sublime keyword:
ln -s /Applications/Sublime\ Text.app/Contents/SharedSupport/bin/subl /usr/local/bin/sublime
If you’re still in Sublime Text 2, this will looks something like this:
ln -s /Applications/Sublime\ Text\ 2.app/Contents/SharedSupport/bin/subl /usr/local/bin/sublime
Basically, this lets you open files with Sublime Text directly from the command line.
You can also link it the the subl keyword, instead of sublime, but I prefer the more clear, explicit nomenclature.
This can be done as follows:
ln -s /Applications/Sublime\ Text.app/Contents/SharedSupport/bin/subl /usr/local/bin/subl
This is a good explanation on using Sublime’s CLI.
Let’s also show all hidden files:
defaults write com.apple.finder AppleShowAllFiles TRUE
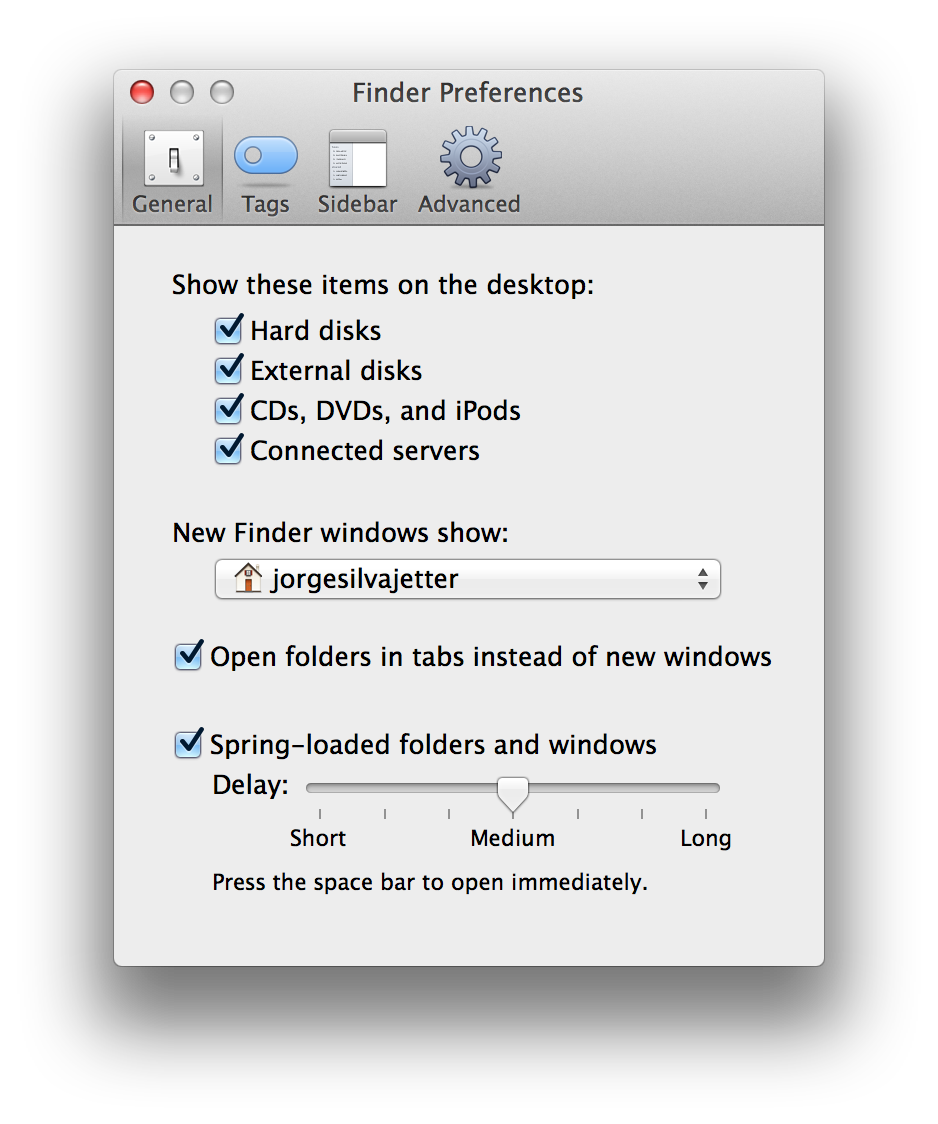
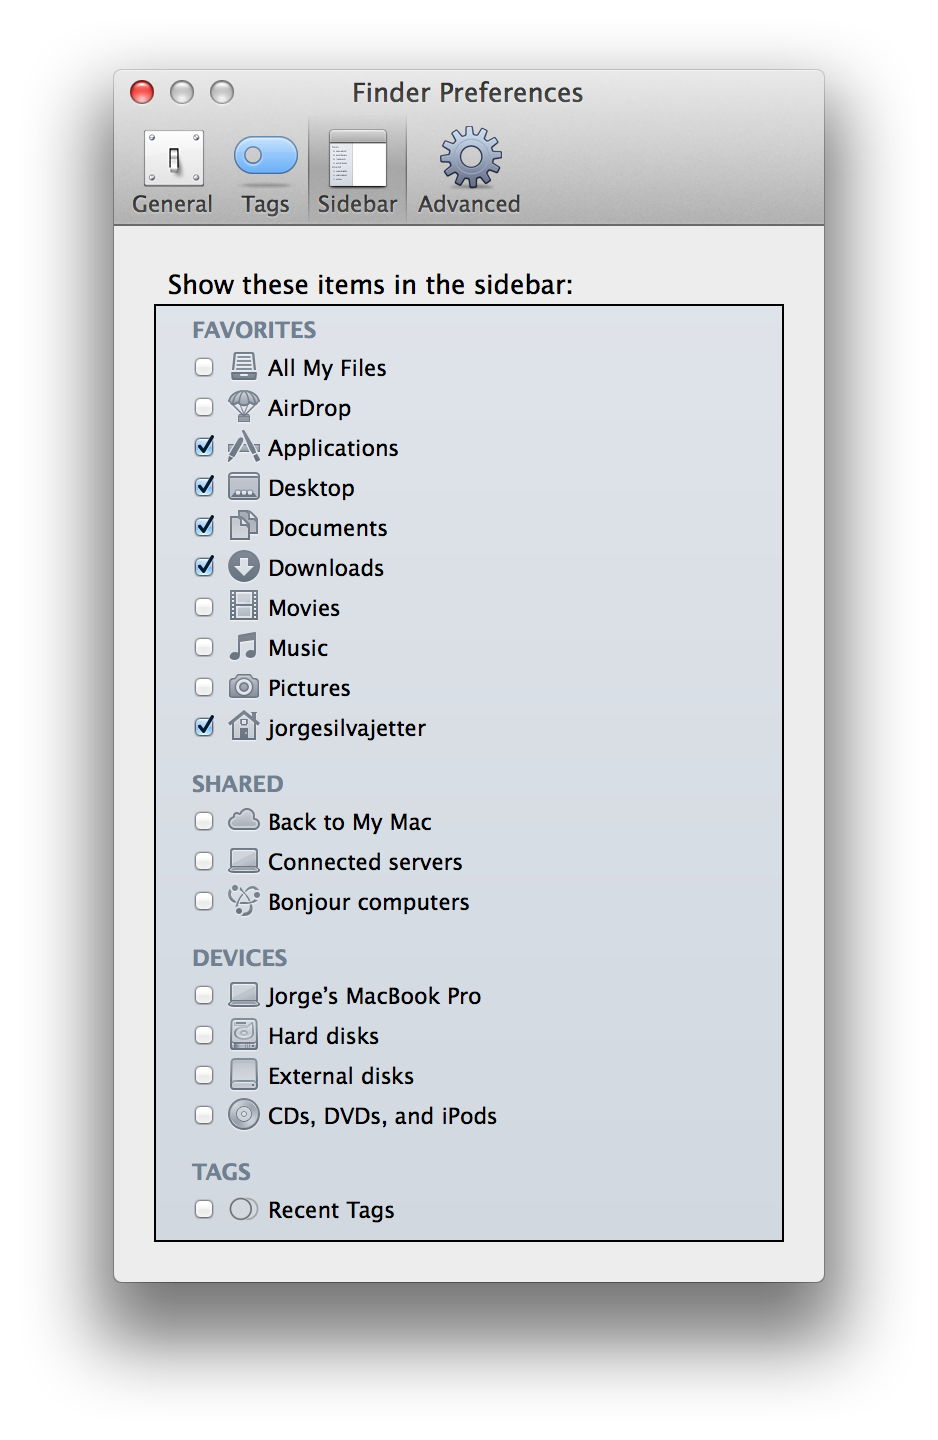
Let’s also show our HD and other important folder. In Finder, go to Finder > Preferences and set the following:
2. Install Homebrew
If you’re using Homebrew and you’re a developer, Homebrew is essential to install packages.
Go ahead and do install it:
ruby -e "$(curl -fsSL https://raw.githubusercontent.com/Homebrew/install/master/install)"
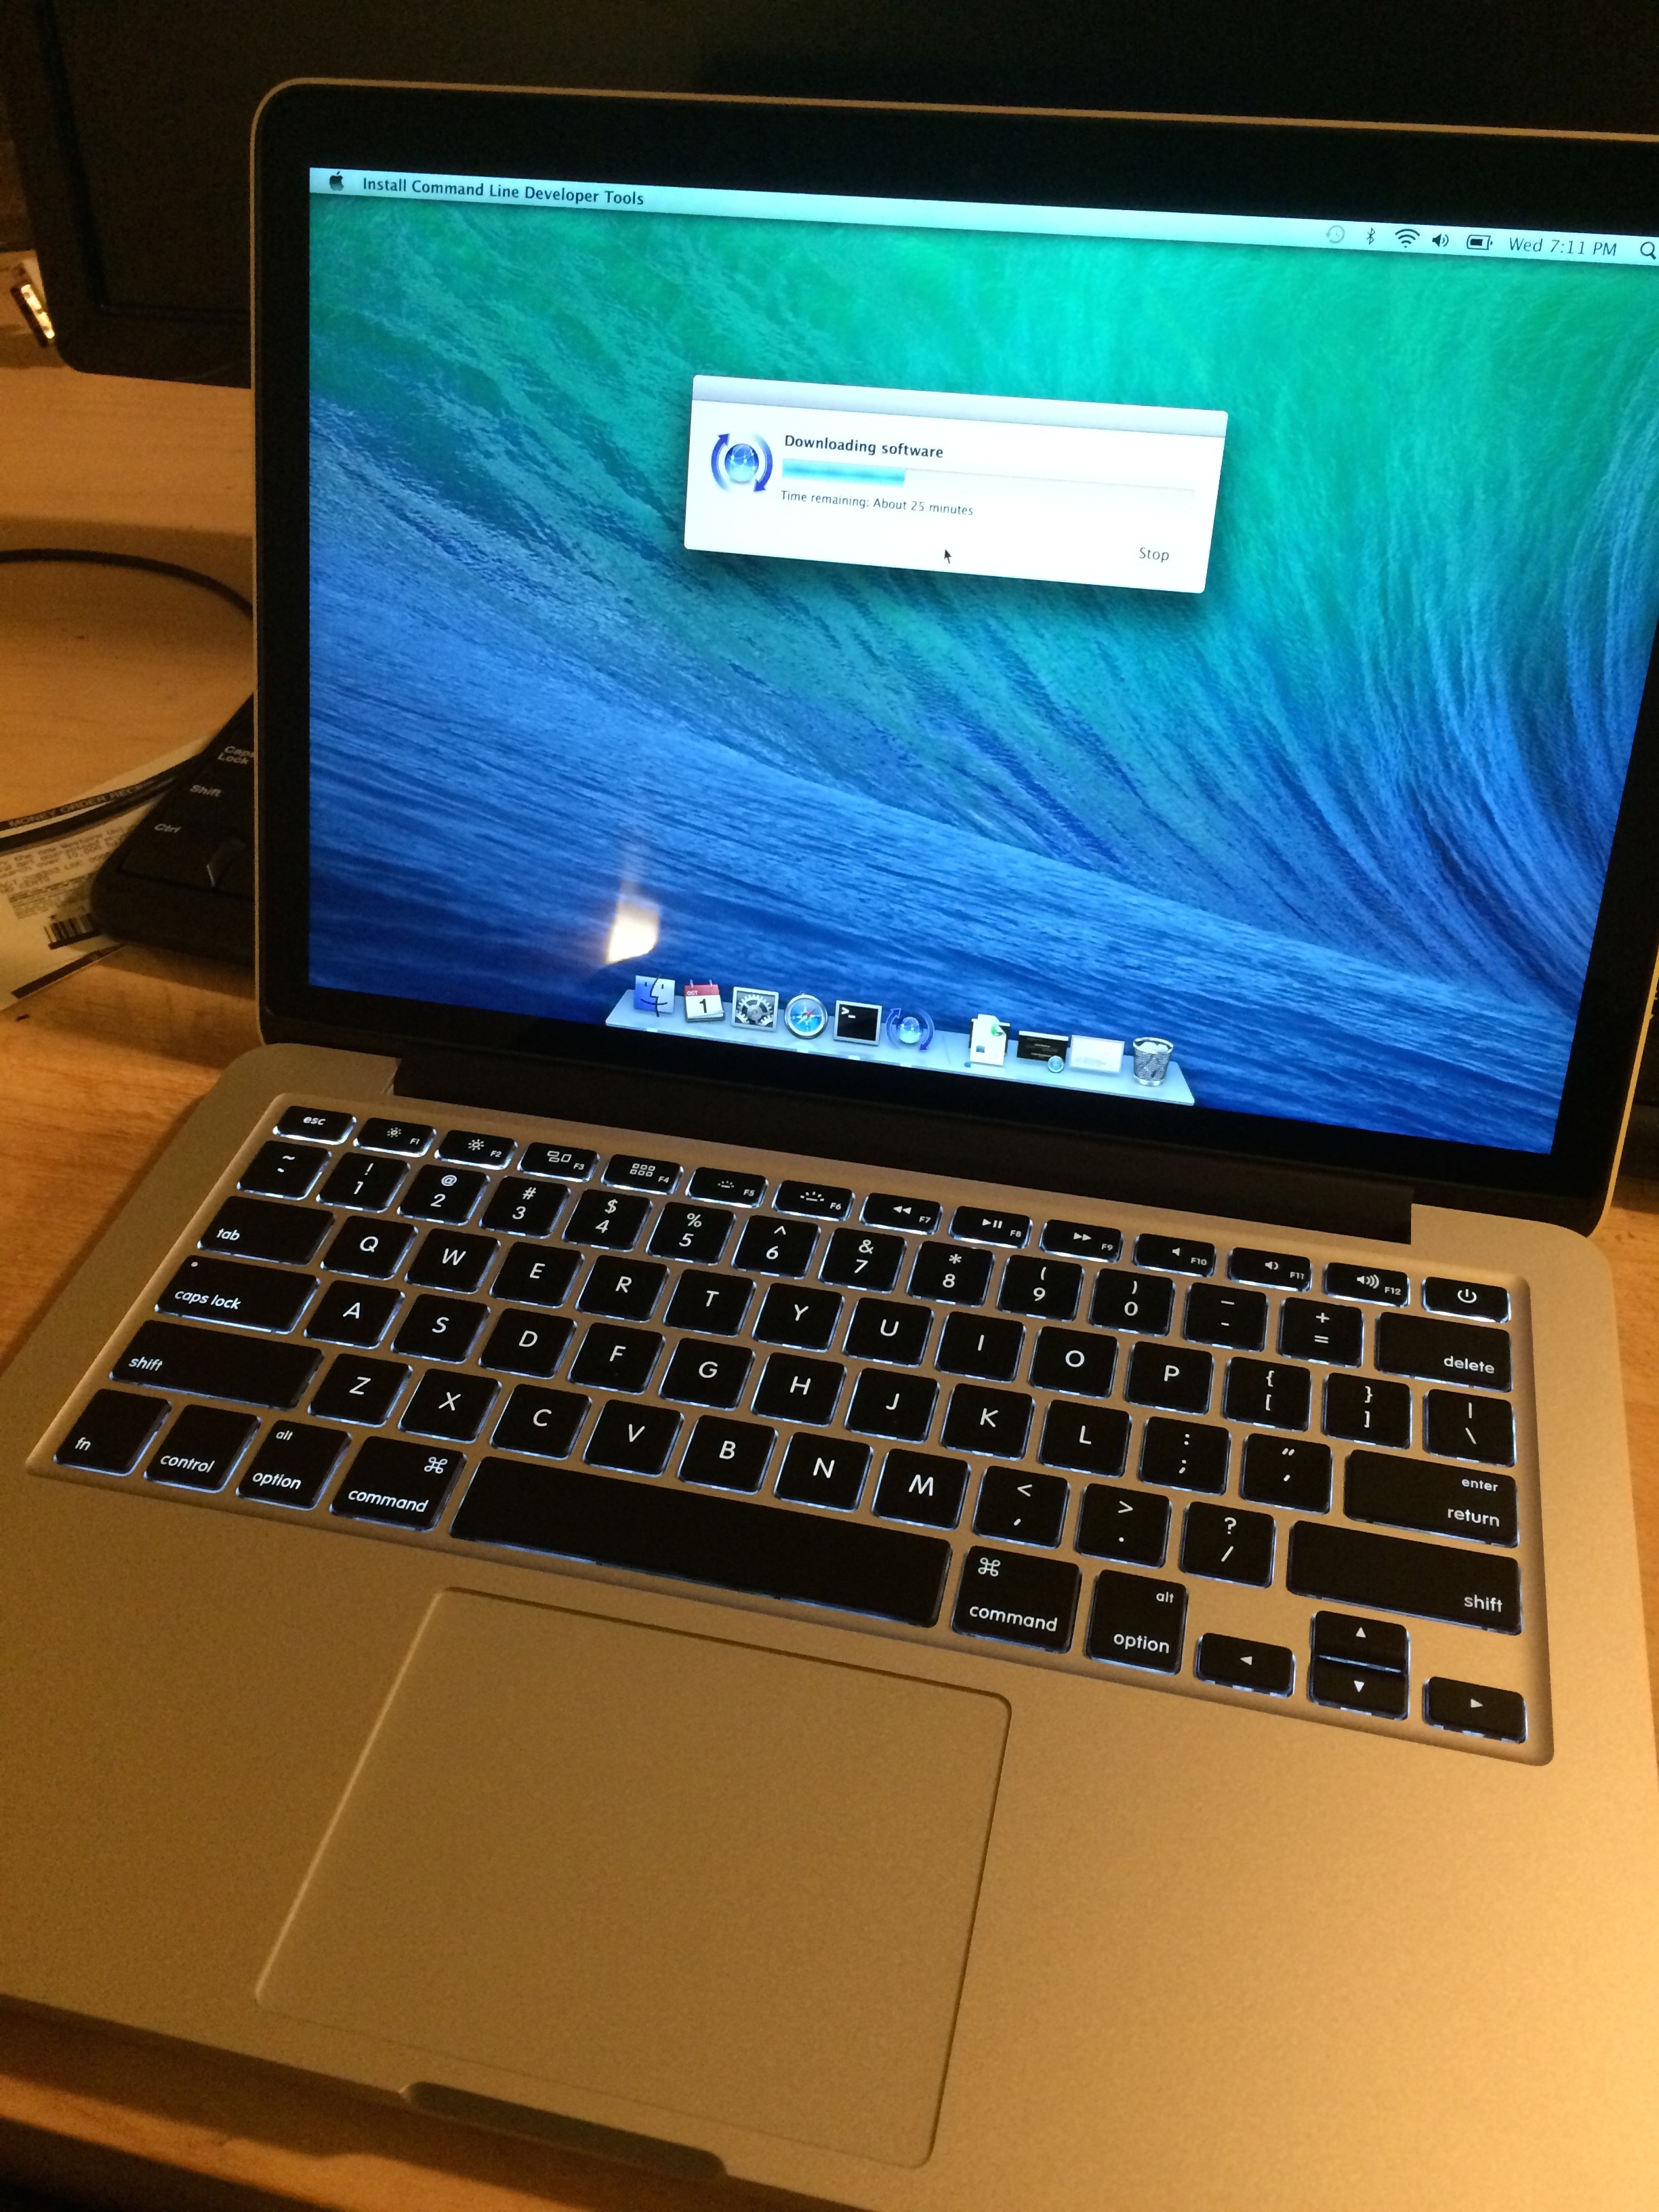
At some point, you’ll get prompted to install the XCode command line tools. Go Ahead and do that. The output for that looks something like this:
==> Installing the Command Line Tools (expect a GUI popup):
==> /usr/bin/sudo /usr/bin/xcode-select --install
xcode-select: note: install requested for command line developer tools
Press any key when the installation has completed.
==> Downloading and installing Homebrew...
When that’s finished, call the doctor!
brew doctor
For the first time in my life, the my output was Your system is ready to brew.. If your computer is not new, you’ll usually, you’ll get some problems that you’ll need to fix. I usually try to fix those, but also don’t worry about them TOO much, since brew usually works pretty well. XCode seems to be the only really essential one.
This article has some pretty useful stuff to get homebrew setup.
3. Install and Configure Git
After Homebrew is installed, we can now install git with Homebrew.
For that, you can just do:
brew install git
After that’s done, you can go ahead and configure git. Presupposing you’re using GitHub, you can just go:
git config --global user.name 'GITHUB_USERNAME'
git config --global user.email 'GITHUB_EMAIL'
In my case, this was:
git config --global user.name 'thejsj'
git config --global user.email 'jorge.silva@thejsj.com'
4. Install Node.js and essential npm packages
Now that you have installed brew, installing node is pretty easy.
brew install nodejs
Keep in mind that this installs the latest version of node.js. If you want to switch around between different versions, you can install nvm
After node.js is finished installing, you can now use npm to install packages globally. There are only a couple of packages that I’ll install globally.
npm intall -g jshint coffee bower jsfmt
5. Configure Your Local Lamp Server
OSX already comes with Apache, so there’s no need to install it. Rather than using something like MAMP, we’ll just set everything manually in order to make it a little cleaner.
First, let’s install mysql with brew.
brew install mysql
Then test it:
which mysql.server
mysql.server start
which mysql
mysql -u root
Now, let’s install PHP. OSX already comes with PHP, but it has an older version of PHP and we want the latest version (5.6.0 right now).
If we try to install it directly, we get an error.
brew install php56
Error: No available formula for php56
Searching taps...
So let’s setup a couple more taps and then install php56
brew tap homebrew/dupes
brew tap homebrew/versions
brew tap homebrew/homebrew-php
brew install php56
This helped me figure this out.
After PHP 5.6 is installed, we still have to do a couple of things.
First, open /etc/apache2/http.conf and change this line #LoadModule php5_module libexec/apache2/libphp5.so for this:
LoadModule php5_module /usr/local/opt/php56/libexec/apache2/libphp5.so
This will force Apache to use PHP 5.6, instead of the default PHP.
Now, also include the following lines in your ~/.bash_profile
PATH="/usr/local/bin:$PATH"
export PATH="$(brew --prefix homebrew/php/php56)/bin:$PATH"
Finally, run these two lines in your terminal to have PHP 5.6 start automatically on startup:
ln -sfv /usr/local/opt/php56/*.plist ~/Library/LaunchAgents
launchctl load ~/Library/LaunchAgents/homebrew.mxcl.php56.plist
The next step is changing the default user and base directory for apache.
In /etc/apache2/httpd.conf, change the user and group.
#
# If you wish httpd to run as a different user or group, you must run
# httpd as root initially and it will switch.
#
# User/Group: The name (or #number) of the user/group to run httpd as.
# It is usually good practice to create a dedicated user and group for
# running httpd, as with most system services.
#
User jorgesilvajetter
Group Staff
After that, change the Document Root and permissions for the document root.
#
# DocumentRoot: The directory out of which you will serve your
# documents. By default, all requests are taken from this directory, but
# symbolic links and aliases may be used to point to other locations.
#
DocumentRoot "/Users/jorgesilvajetter/Sites"

#
# Each directory to which Apache has access can be configured with respect
# to which services and features are allowed and/or disabled in that
# directory (and its subdirectories).
#
# First, we configure the "default" to be a very restrictive set of
# features.
#
<Directory />
    Options FollowSymLinks
    AllowOverride AuthConfig Limit
    Order allow,deny
    Allow from all
</Directory>
After that, restart apache:
sudo apachectl start
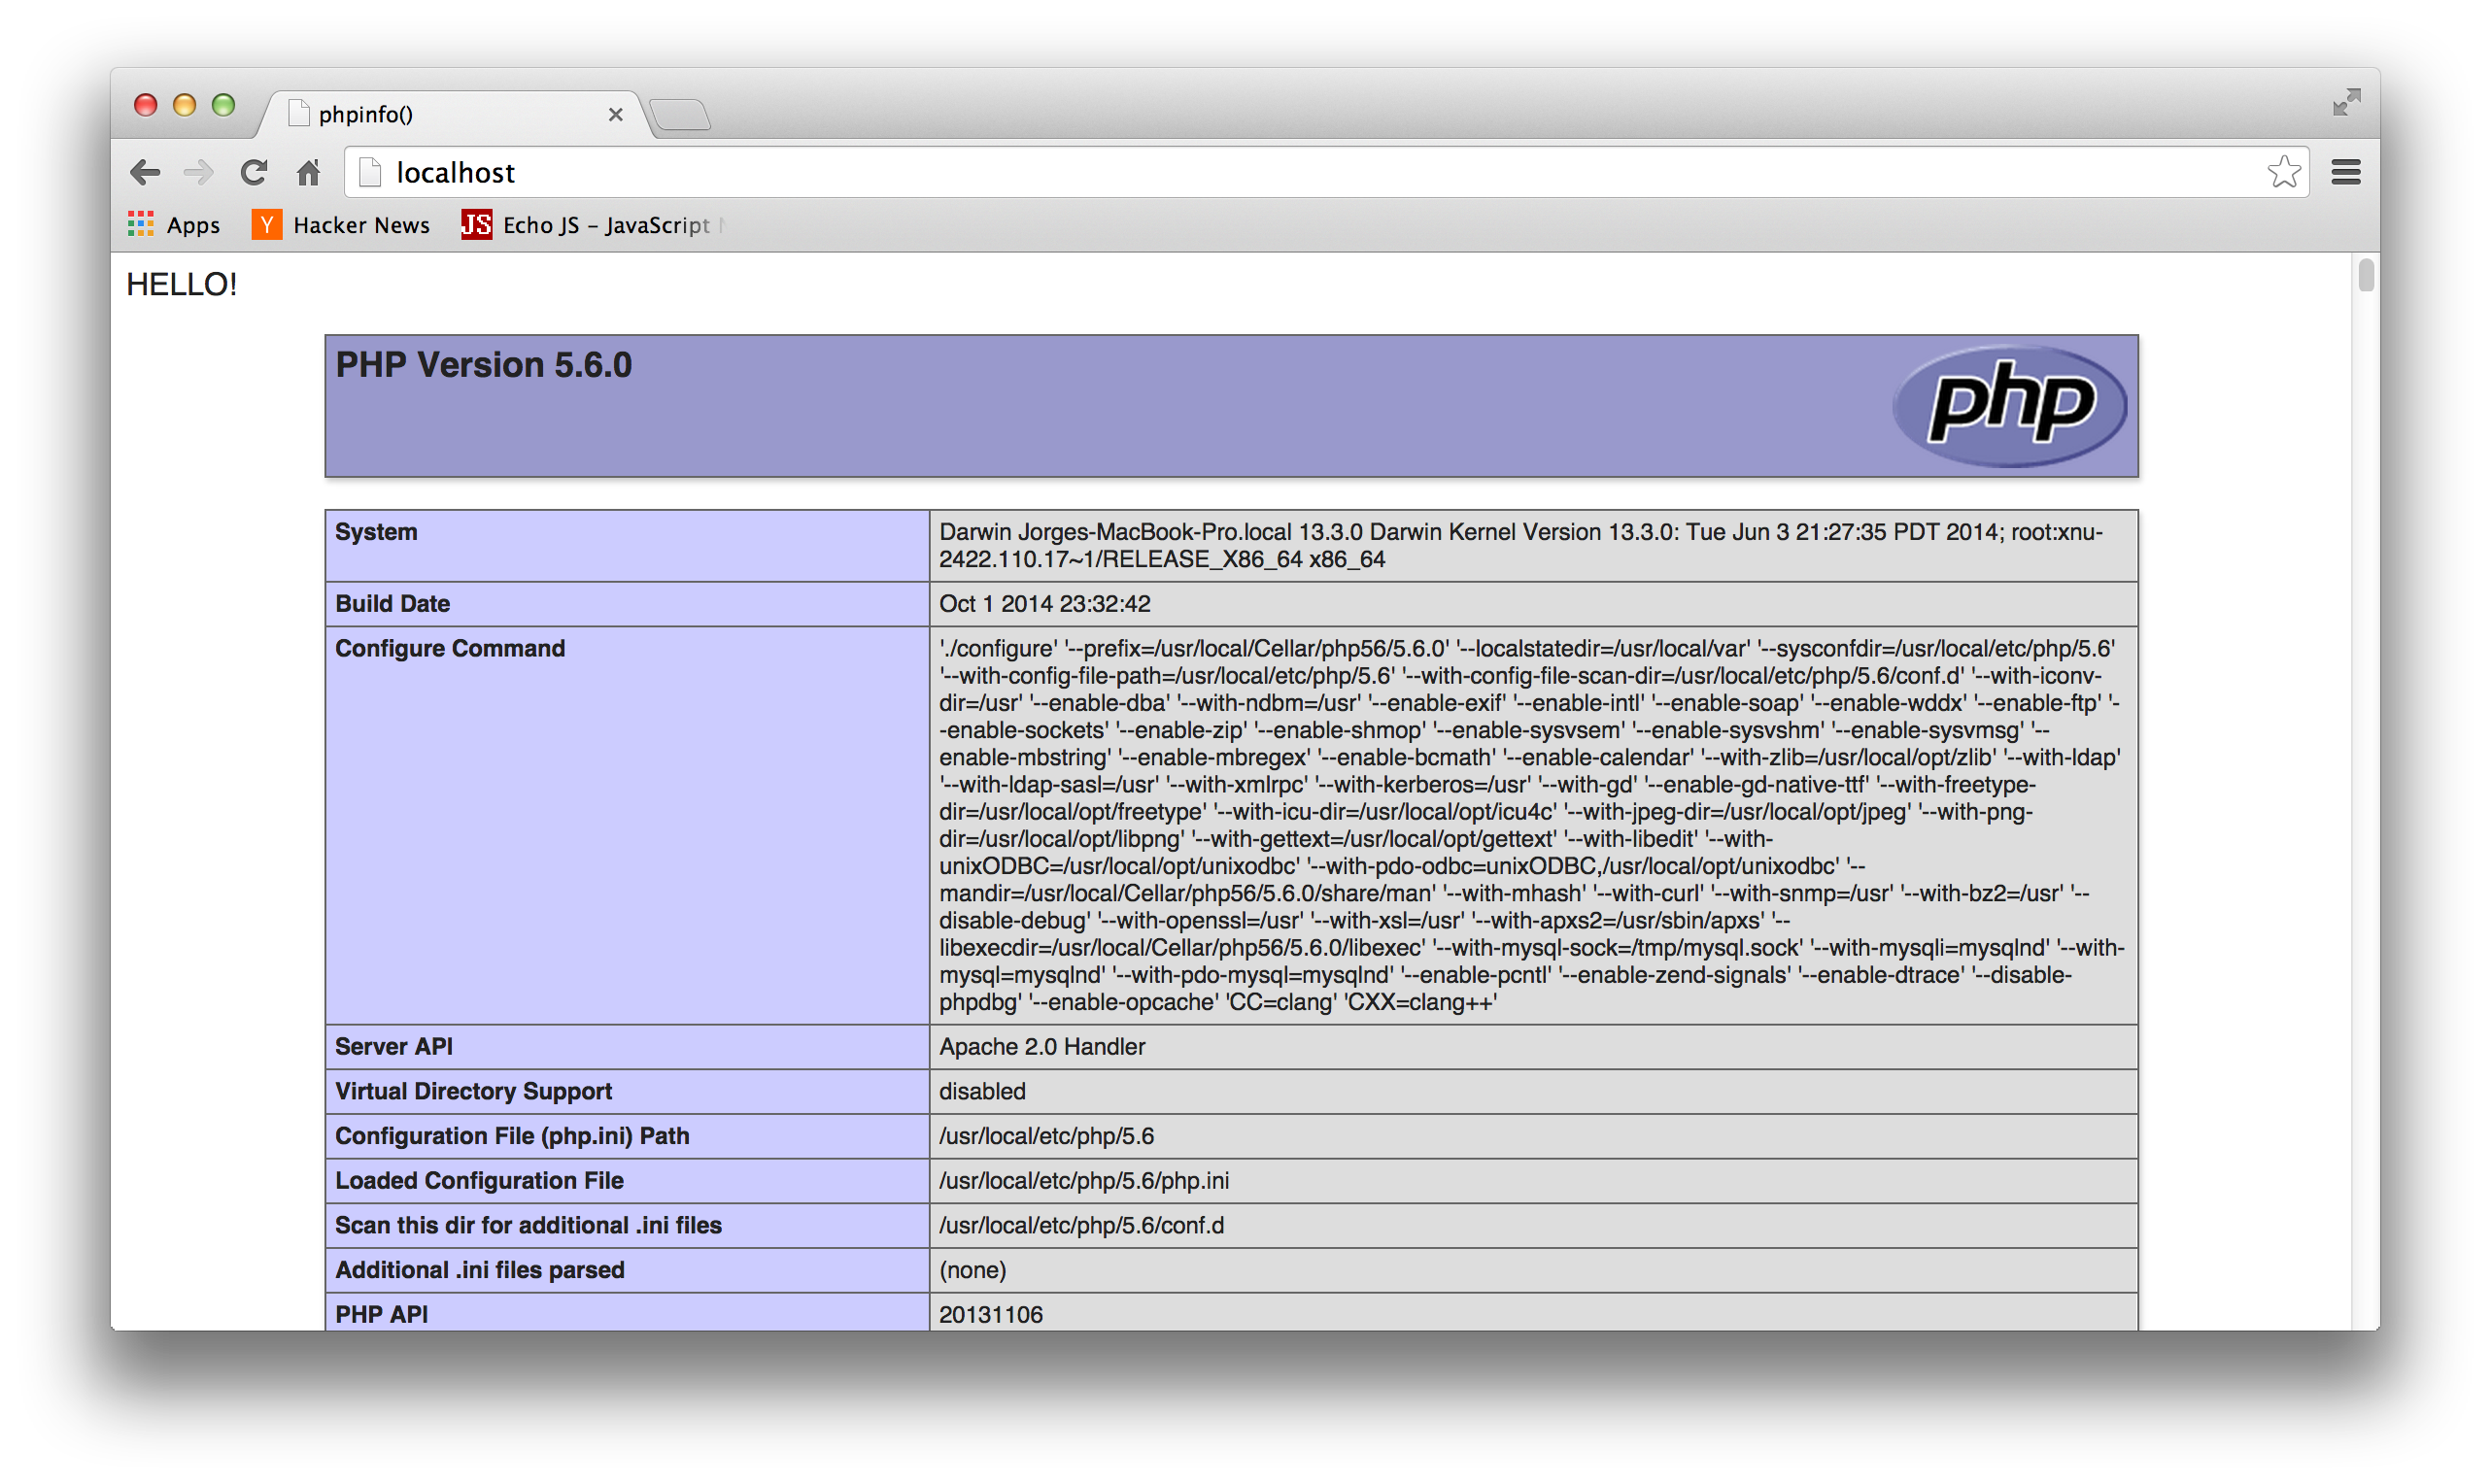
In order to test this, go to ~/Sites and touch index.php and add the following:
<?php echo 'HELLO!'; ?>
<?php phpinfo(); ?>
This should look something like this:
Conclusion
This should set you up for a while. There’s a couple of things, I haven’t included here like compass and a couple of ruby stuff. I also haven’t mentioned any python and django stuff which I also use a lot.
Also, it might be easier to just go through someone’s .dotfiles and set up your computer that way. Mathias Bynens’s dotfiles seems like a pretty good bet. It includes a Brewfile that has a lot of essential packages. At some point, I’ll get around to creating my own dotfiles.